Your mascara looked perfect in the mirror, but your selfie makes your lashes practically invisible. Lighting washes them out, camera angles flatten them, and suddenly those carefully curled lashes disappear into nothing. Getting lash definition that translates through your phone’s lens requires different thinking than what works for in-person appearance.
Capture Techniques That Preserve Lash Detail
Camera position dramatically affects how lashes appear in your final shot. Hold your phone slightly above eye level rather than straight-on – this angle shows lash curl and length instead of compressing them into your face. Natural window light works better than overhead fixtures, which cast shadows that obscure rather than define your lashes.
Avoid backlighting yourself, which silhouettes your face and erases all lash detail. Side lighting at 45 degrees creates dimension that makes individual lashes visible. RetouchMe – online photo editor fake eyelashes offers professional enhancement with over 20 natural-looking templates when lighting conditions weren’t ideal during capture.
Pre-Shot Preparation Makes the Difference
What you do before pressing the shutter button matters as much as the actual capture. These steps significantly improve lash visibility:
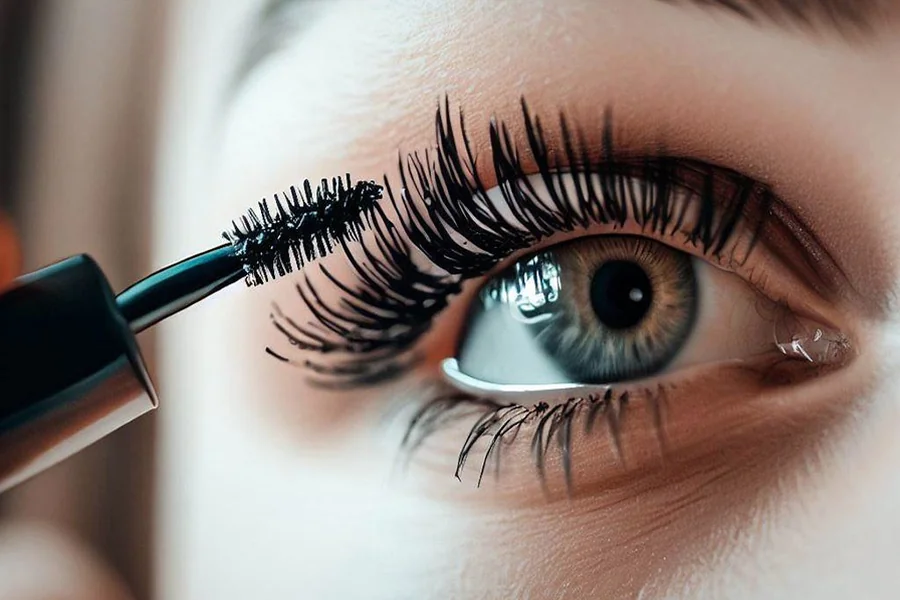
- Curl lashes thoroughly before applying mascara – flat lashes disappear in selfies regardless of how much product you apply.
- Use a lash primer before mascara to add volume that actually shows up through your camera lens instead of looking bare.
- Wiggle mascara wands at the base while pulling through to tips, which creates separation and prevents clumping that reads as muddy blobs.
- Wait thirty seconds between mascara coats to build dimension without creating spider-leg clumps that photograph poorly.
These simple adjustments create visible definition that survives compression when you share images on social platforms.
Smart Enhancement After Capture
Even well-prepared lashes benefit from targeted refinement. Smartphone cameras compress depth, which flattens the three-dimensional curl you created. Professional manual enhancement restores what camera limitations diminished.
Choose enhancement intensity based on your final use:
- Casual social sharing works well with moderate definition that looks natural on small screens without appearing heavy when viewed full-size.
- Professional headshots or dating profiles benefit from subtle refinement that maintains authenticity while ensuring lashes don’t vanish into your overall look.
RetouchMe’s editors work manually rather than applying automated filters, which means they account for your specific lighting conditions, lash color, and face shape when adding definition.
The biggest mistake is choosing lash styles that clash with your natural appearance. Dramatic volume looks obviously fake on someone with naturally sparse, fine lashes. Conversely, minimal enhancement disappoints when you naturally have thick lashes that just didn’t photograph well.
